


- 配置 yum 源
[root@localhost ~]# cat > /etc/yum.repos.d/centos.repo <<EOF
> [centos]
> name=centos
> baseurl=file:///opt/centos
> gpgcheck=0
> enabled=1
> EOF
- 挂载光盘
[root@localhost ~]# mount /dev/sr0 /opt/centos
- 安装
Samba服务
[root@localhost ~]# yum install samba -y
- 配置
Samba服务、防火墙及SELinux
[root@localhost ~]# systemctl start smb && systemctl enable smb
[root@localhost ~]# systemctl start nmb && systemctl enable nmb
[root@localhost ~]# systemctl stop firewalld && systemctl disable firewalld
[root@localhost ~]# setenforce 0
[root@localhost ~]# sed -i "s,SELINUX=enforcing,SELINUX=disabled,g" /etc/selinux/config
- 修改相关配置文件(文末添加)
[root@localhost ~]# vi /etc/samba/smb.conf
[share]
path=/opt/share
browseable=yes
public=yes
writable=yes
参数说明:
- /opt/share:这个目录是将要共享的目录(无则创建)
- browseable:操作权限
- public:访问权限
- writable:对文件的操作权限
- 6.创建目录并赋予权限
[root@localhost ~]# mkdir /opt/share
[root@localhost ~]# chmod 777 /opt/share
- 创建
Samba用户
[root@localhost ~]# smbpasswd -a root
格式:smbpasswd -a
创建Samba用户(此用户必须系统存在)[用户名]
- 重启服务
[root@localhost ~]# systemctl restart smb && systemctl restart nmb
- 查看端口状态(无法使用 netstat 命令时,自行安装 net-tools 软件包)
[root@localhost ~]# netstat -ntpl
Active Internet connections (only servers)
Proto Recv-Q Send-Q Local Address           Foreign Address         State       PID/Program name
tcp        0      0 0.0.0.0:445             0.0.0.0:*               LISTEN      1758/smbd
tcp        0      0 0.0.0.0:139             0.0.0.0:*               LISTEN      1758/smbd
tcp        0      0 0.0.0.0:22              0.0.0.0:*               LISTEN      952/sshd
tcp        0      0 127.0.0.1:25            0.0.0.0:*               LISTEN      1085/master
tcp6       0      0 :::445                  :::*                    LISTEN      1758/smbd
tcp6       0      0 :::139                  :::*                    LISTEN      1758/smbd
tcp6       0      0 :::22                   :::*                    LISTEN      952/sshd
tcp6       0      0 ::1:25                  :::*                    LISTEN      1085/master
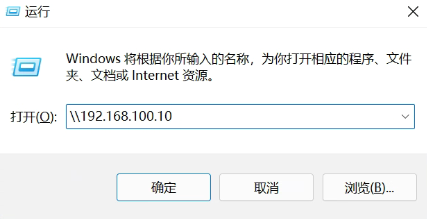
Samba 服务测试
win+r 输入 Samba 服务器IP地址
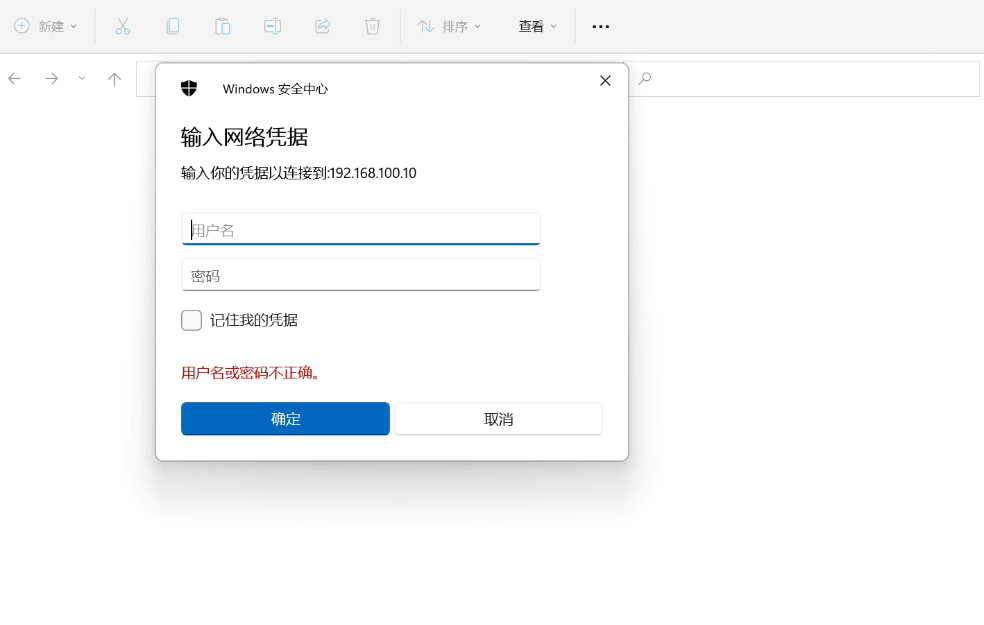
输入所创建的 Samba 用户及密码进行登录
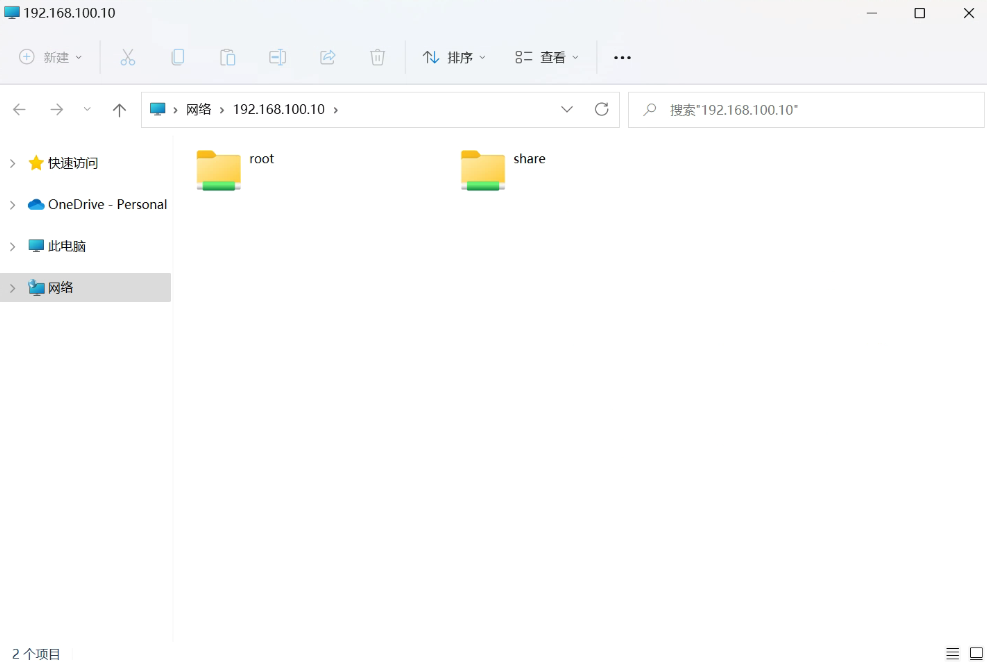
登录成功后即可查看用户 ”家目录“ 及共享目录
Comments NOTHING